Recently, I created what I pridefully called “The Ultimate Guide To Glock Preventative Maintenance and Scheduled Parts Replacements“.
(I named it that, by the way, because other than finding the information on various forums — I did not see a simple, single, central article online that explained the recommended parts replacement schedule for Glocks and how to do it.)
Anyways, in that original article there were two parts I didn’t replace because I was sent the wrong parts — the magazine catch spring and the slide lock spring
So here’s how to replace those and then I’ll update the original post.
How To Replace The Magazine Catch Spring
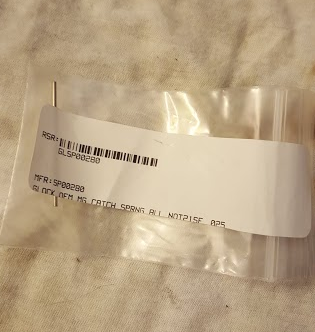
First, you want to grab the new magazine catch spring. It doesn’t really look like a spring at all actually. It looks like a small, thin piece of metal. Kind of neat how simple it is.
At this point, you’ll want to grab a few more tools that can (possibly) make this job easier. This is practically the only time you need extra tools besides the “Glock Armorer Tool” punch when doing work on your Glock.
1. Needle nose plyers
2. Cleaning Rod handle thingie (these normally come with cleaning kits)
3. Flat Head Screw driver (not pictured because you should know what that looks like, lol)
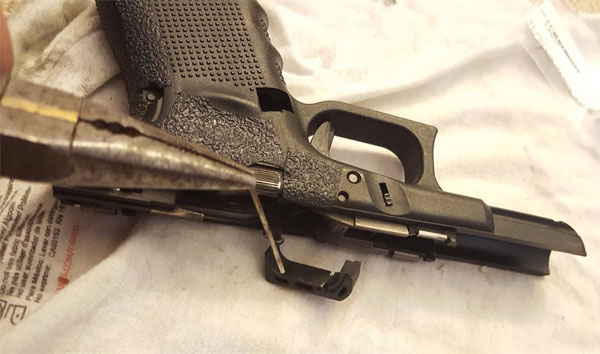
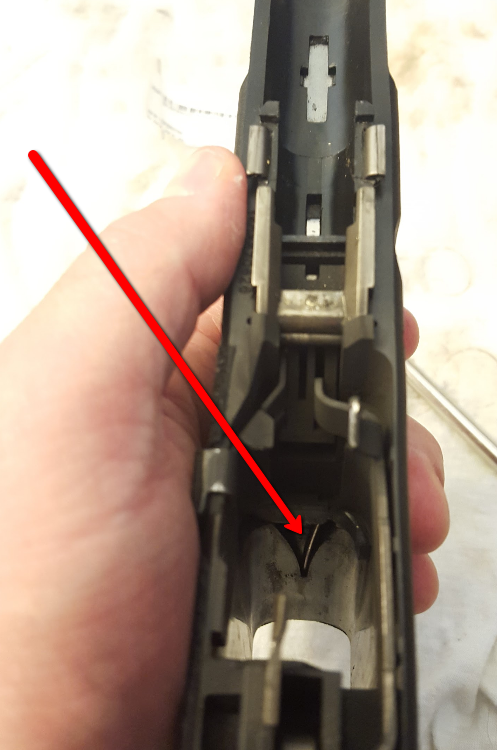
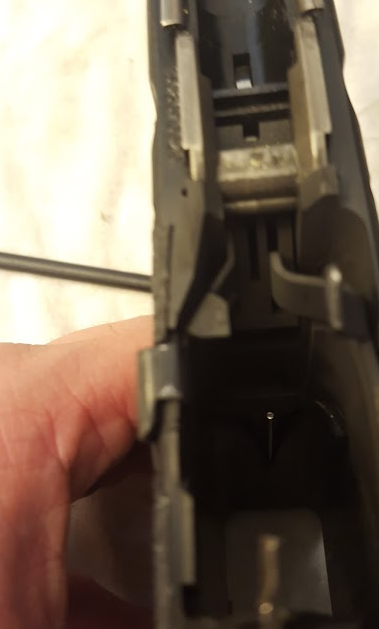
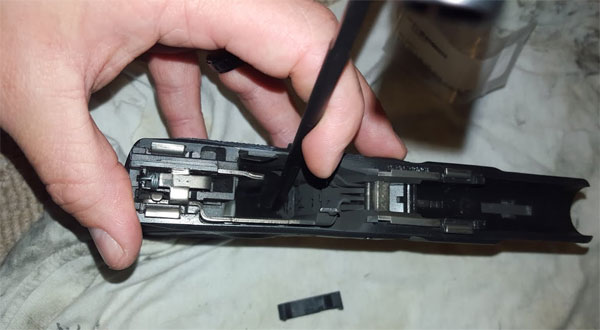
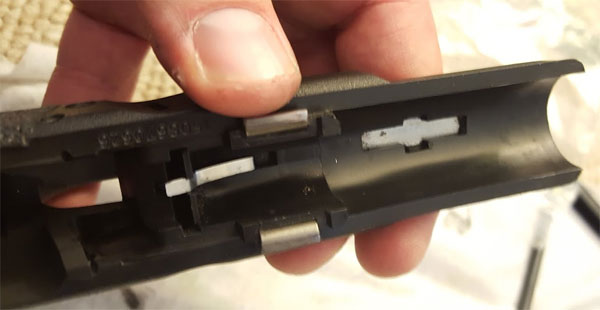
This is easiest to do with the Glock frame disassembled, but not so bad even with it just field stripped like here. But go ahead and look down the frame and you’ll see the magazine catch spring is just that thin little rod of steel down there in the frame–I drew a red arrow to help you out:
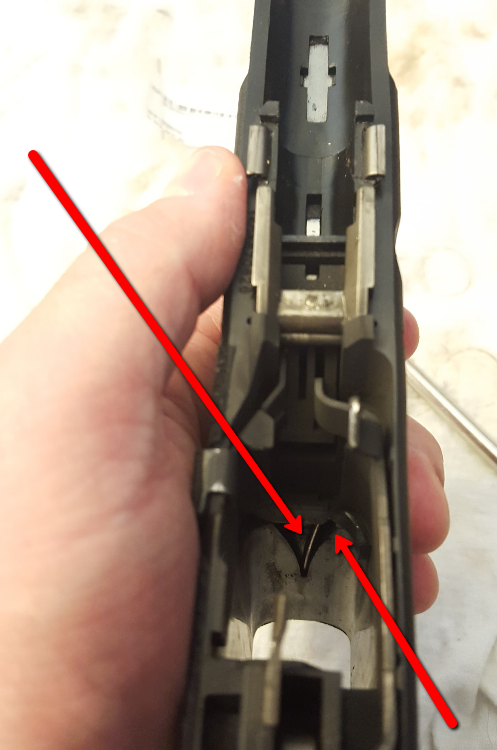
Then also notice that the thin rod of steel is being held by tension in place. And that there is a little “hole” or groove over to the side of it in the frame, that’s where you need to push the rod over too for it to slide out enough for you to remove it. I put a second arrow pointing it out on my frame.
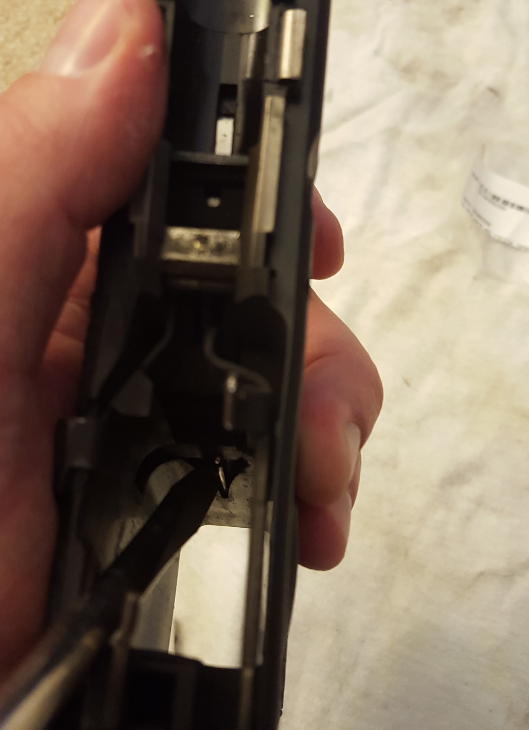
Simply push it over with the flat head screw driver till it goes into that hole/groove and then it will pop out because the tension is released as shown here:
Then reach in with the needle nose plyers, grab the thin, steel rod and remove it. Just pull straight out in a straight line, it’s only shoved down in a hole in the frame.
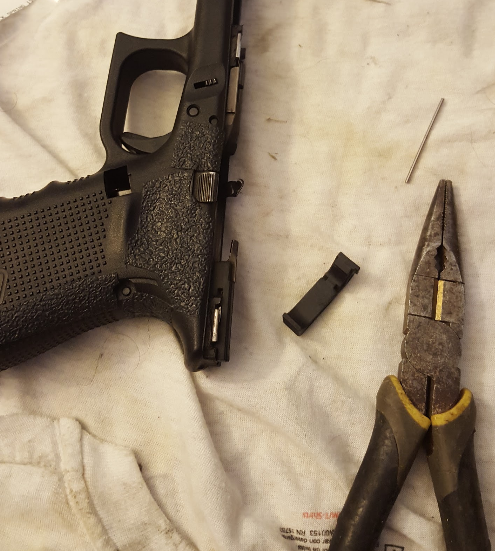
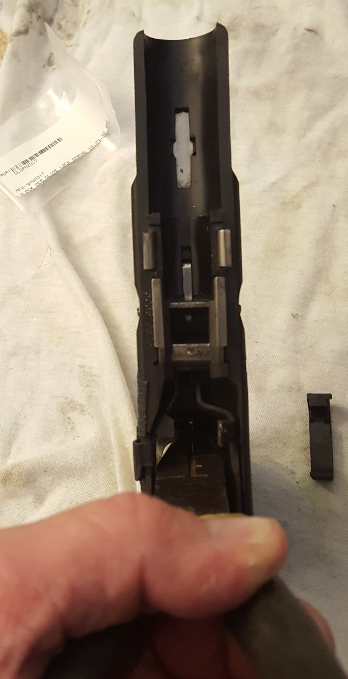
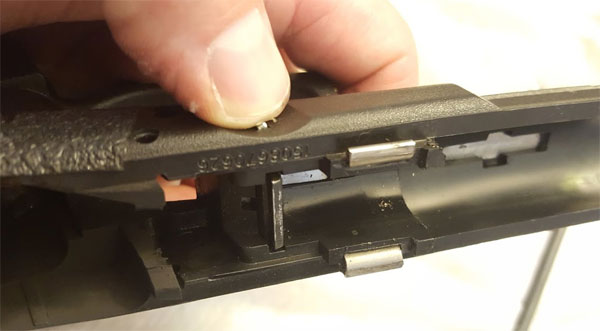
At this point, with it removed, the magazine button will actually fall out (or you will help it out to get the pin out) as shown in the pic below:
Then you take your new magazine catch spring and you reverse what you just did. Take the needle nose plyers and stick it back down in the frame hole. Then it will be sitting there like this, taunting you to bend it back into the rivet in the frame and put it back under tension.
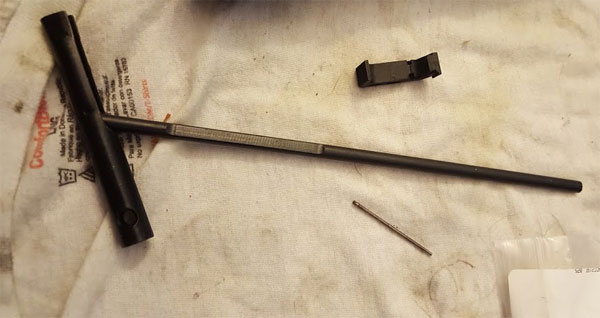
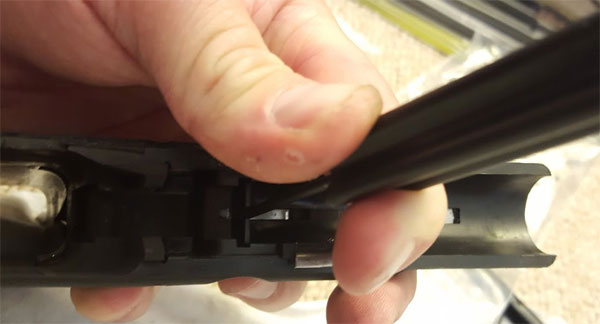
This is the part where you grab the gun cleaner handle tool thingie, and put it to work because it is a hollow tube. Essentially, because it’s hollow, it makes it easier to slide it down over the magazine catch spring and get ahold of the little thin steel rod and push it back into the divet.
It was hard to take a picture of this action going on, but here is my best pic of it …
And here is the youtube video where I learned this little trick from
Once you do that, you slide the mag button back in to get it under tension and you’re all set.
How To Replace The Glock Slide Lock Spring
Next, we replace the Glock slide lock spring. To do that, you strip the frame and then you have to take off the little metal slide lock piece that you normally push down to remove the slide in a field strip:
All you do to remove that is push down on the actual spring (the shiny piece of sheet metal looking thing below it) and it just falls right out when you turn the frame on its side:
At this point, you simply take your armorer tool and pop that little sheet metal spring looking thing out (that’s the slide lock spring) and replace with the identical looking replacement slide lock spring. Just make sure to put it back in exactly the way you took it out, so that the big part faces the correct way. Then you can push on it a few times to make sure it’s springy the way it should be.
And that’s it!
Then you reassemble the Glock pistol and you have all new magazine catch spring and slide lock parts.


![Are Compensators Worth It? [Video]](https://preparedgunowners.com/wp-content/uploads/2025/07/Depositphotos_815431992_S-218x150.jpg)













![Optic Ready vs Milled slides? [Video]](https://preparedgunowners.com/wp-content/uploads/2024/02/image-3-100x70.png)
![[Checklist] What Gear You Need To Take Pistol, Rifle & Shotgun Training Courses [Video]](https://preparedgunowners.com/wp-content/uploads/2023/07/Depositphotos_275087632_L-100x70.jpg)
![What is in Carter’s 2023 EDC? [Video]](https://preparedgunowners.com/wp-content/uploads/2023/07/Depositphotos_146856137_L-100x70.jpg)

between the “instructions” and the horrible video where I could not see what the mumbly voice was trying to show in the dark, I am more confused.
Really? Sorry about that, the video was clear for me and I thought my instructions were ok too …
I agree, u needed more lighting. Sorry my man.
Maybe these negative commenters need to get BB pistols if they don’t know enough about their Glocks.
They need help!
These 2 fellas don’t know enough about their Glocks to do what you demonstrated.
I feel sorry for them. They need to stick to BB pistols until they learn their killing
machines.
hey man, don’t get down on them for not knowing, they are here to learn, you all at one time didn’t know either, we are here to learn and discuss knew things and options.
I’ve been fascinated by cartoon, this can be an excellent resource packed with some quality forms about them. Congratulations.
Comments are closed.