


One thing that most people, even “gun guys*” don’t appreciate is that every firearm is basically just a mechanical device.
In fact, they have a lot in common with your vehicle …
And just like a vehicle, if you don’t do preventative maintenance on your firearms they can and will fail if you put enough “miles” on them.
This goes for every type of firearm …
Yes, even Glocks.
The thing is, most people that own guns rarely shoot them, so they have no idea that a maintenance schedule even exists. And if they do, they never shoot the thousands of rounds required to worry about preventative maintenance.
Let’s keep the car analogy going though …
Preventative Maintenance Level 1: Cleaning and Lubing.
Gun owners typically fall into two camps: those that love to clean their guns and those that hate it.
How often you clean your gun is totally up to you. Just make sure it gets done when needed.
I’m the type that rarely cleans his guns. I’d estimate in the last 9,000+ rounds I field stripped and cleaned my Glock half a dozen times (or less). Most of those were because a particular instructor of whatever class I was attended specifically requested the attendees to go home and clean their gun that night, so that nobody had trouble the next day.
And I have detail stripped (taken the Glock down to component parts for extensive cleaning) the gun just once after the aforementioned 9,000+ rounds.
I do, however, keep my guns lubed.
And you should too. Even the Glock pistol, which is typically run more dry than other handguns should be lubed often.
I think a lube schedule of a few “touch up” drops every 500-2,000 rounds is not out of line.
Your gun may need more, more often. Think of it like an oil change, you should do those every 3,000 to 5,000 miles depending on your car, the type of oil used, and the recommended schedule.
Preventative Maintenance Level 2: The Glock preventative maintenance part replacement schedule.
Just like your car, the Glock pistol has a preventative maintenance part replacement schedule.
Before we continue, I should inform you that I’m not a “certified” Glock armorer (though I have taken one Glock armorer class before the release of this article). There are others that are more informed than me in this realm, so I’m intending this–unlike the Constitution–to be a “living” document that I will change and add to over time as better/more accurate info is revealed to me.
Here it is with approximate suggested round counts for when to replace these parts:
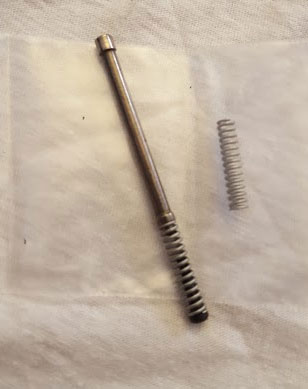
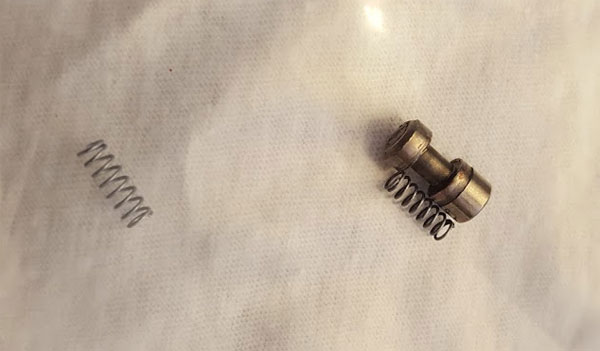
1. Recoil Spring Assembly: 3,000-4,000 rounds (Gen 1-3). 5,000-7,500 rounds (Glock Gen 4)
2. Firing Pin Spring (striker): 15,000 rounds
3. Firing Pin Safety Spring: 15,000 rounds
4. Extractor Depressor Plunger Spring: 15,000 rounds
5. Magazine Catch Spring: 15,000 rounds
6. Standard Trigger Spring: 15,000 rounds
7. Slide Lock Spring: 15,000 rounds
8. Slide Stop Lever Spring (attached to slide stop lever): 15,000 rounds
Those are basically all the parts on the Glock that could possibly wear out and that you’ll have to replace.
If you keep your Glock well maintained, following this schedule, then your Glock should serve you for many, many years (or at least 50,000+ rounds … whichever comes first).
NOTE: the slide stop lever spring is not a separate part, if your slide stop lever goes bad (or, more likely, you bend it) you just replace the whole slide stop lever because the spring is attached to it.
Glock Parts Are Inexpensive
A nice benefit to carrying a gun, or “weapon systems platform” that everyone else carries like the Glock (or AR-15, or AK-47 for that matter …) is that the parts are widely available and relatively inexpensive.
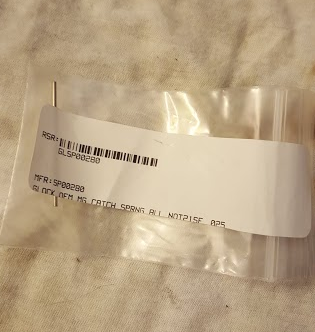
For instance, I bought a kit of the entire 8 parts above for a whopping $37.95 from RockYourGlock.com. The kit is called the Emergency Field Replacement Spring Kit For G19Gen4 and contains everything you need. I believe Gen 1-3 Glock parts are even less money.
NOTE: Because Glock replacement parts are so inexpensive, I decided to replace ALL 8 parts on my pistol at the same time because:
1.) It was less than $40 to get all the parts so why not?
2.) I had completely disassembled my pistol to detail clean it already.
3.) while it was still apart, I figured I should do it all.
And that would catch me up, giving me a “like new” gun at slightly over 9,000 rounds.
I would advise you to consider doing the same thing and replacing all your parts at the same time as you replace the recoil spring assembly (RSA), because it’s the first part that needs replacing (I’m speaking mainly to Gen 4 Glock owners, it may not be as economical for Gen 1-3 owners to replace all springs every 3,000 rounds. It’s up to you.)
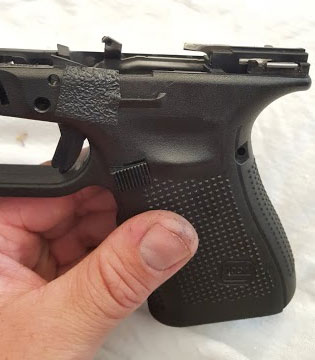
How To Perform Routine Maintenance on Your Glock Pistol, Step-By-Step.
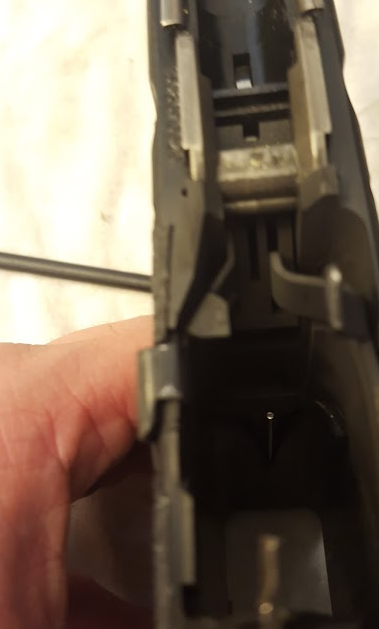
I recently detail stripped and cleaned my Glock pistol for the first time. As such, I had to strip it all the way down to the component parts and while the gun was clean and disassembled I planned to replace all the aforementioned 8 parts for the maintenance.
Again, the best round count I have for this gun is over 9,000 rounds (and it’s actually more than that … because some range sessions with friends I had not recorded round counts) but I don’t know how much, so this was a good time to replace parts.
NOTE: I’ve not had any malfunctions, stoppages, or failures due to “bad parts” or anything of that nature during the entire 9,000 rounds. This is simply routine maintenance to prevent problems down the road.
I ordered the Emergency Field Replacement Spring Kit For G19Gen4 and got started.
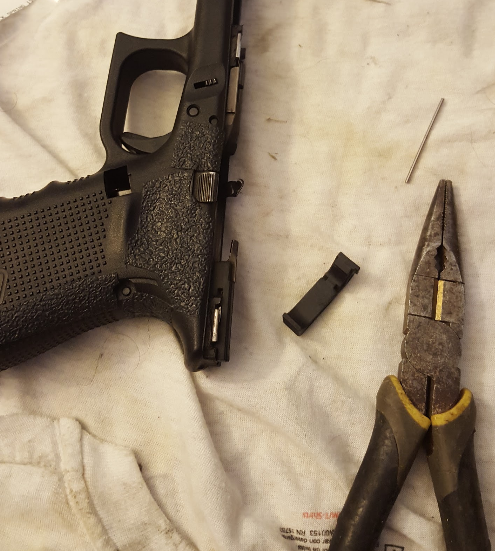
Step 1: Detail Strip and Clean if Necessary. Gather Parts.
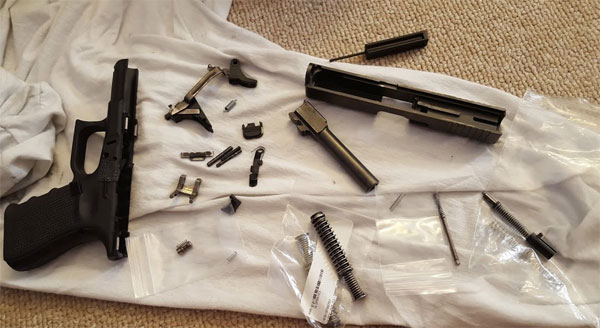
I don’t guess you NEED to clean your gun at this point, but it makes it easier to inspect wear and easy to put it all together (in my opinion).
Again, this was the first time I had extensively cleaned my gun, so it was a great time to do the maintenance.
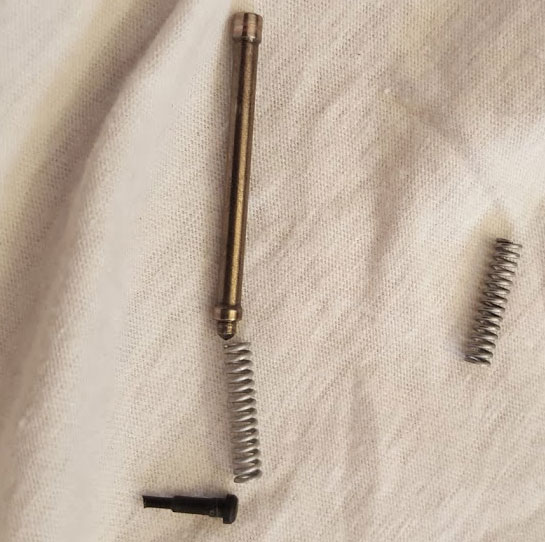
Here are all the parts I had on hand …
Striker Spring with replacement …
Extractor Depressor Plunger Spring with replacement …

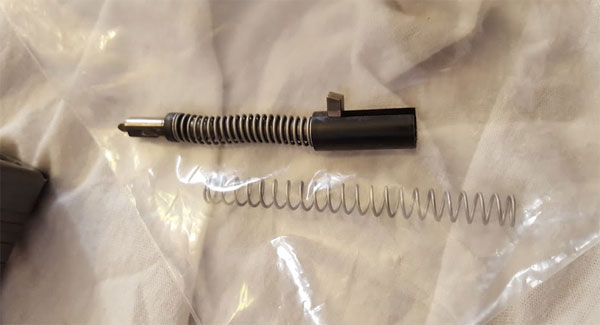
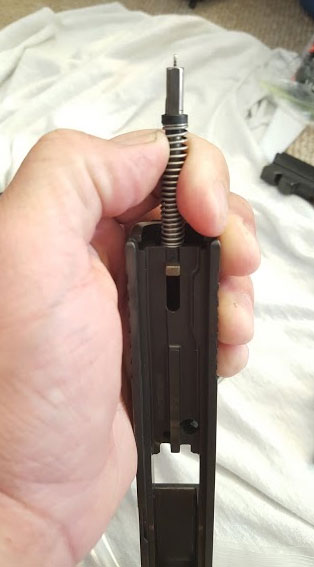
Recoil Spring Assembly (RSA) with replacement …
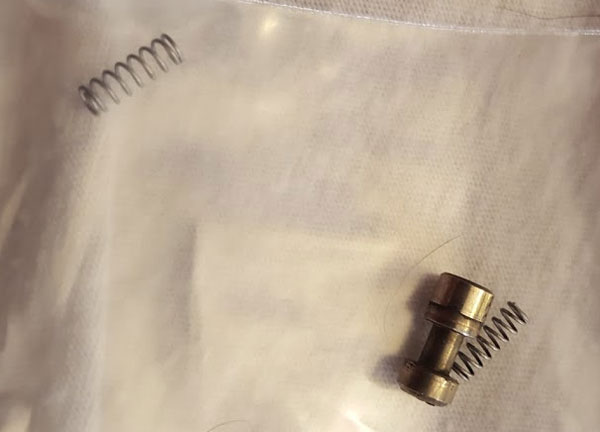
Firing Pin Safety Spring with replacement …
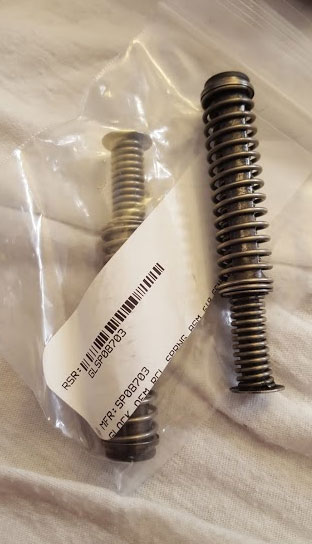
Trigger Assembly with the replacement trigger spring …
NOTE: in full disclosure, RockYourGlock.com sent me the wrong slide lock spring with my order. Within 24hrs of notifying them, they put the right one in the mail to me. Also, while I have the magazine catch spring replacement, I did not replace it yet … because I’m lazy. I plan to do that when I receive the correct slide lock spring.
Step 2: Replace Firing Pin Striker Spring
This one is relatively simple. You just pop it off and pop on the new one. A tip/trick is to turn the striker assembly around and if it in the slide to make it easy to push against the spring (it holds it there for you).
If you need more instructions, I found this little video on YouTube, that’s a little more than 4 minutes long, showing the complete process.
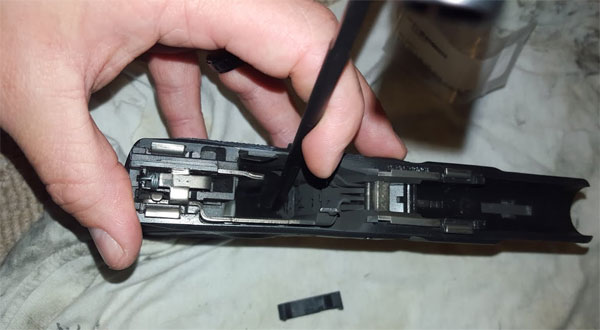
Step 3: Replace Trigger Spring
First, you pull up and out to get the cruciform and trigger bar up out of the black trigger housing thingie (really technical I know). Then you’ll notice that the trigger spring is in the S shape. That is important.
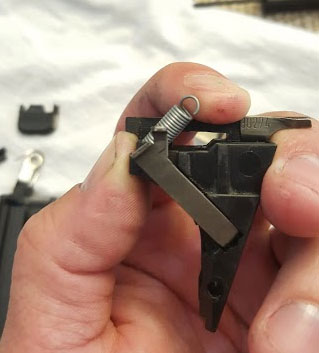
Simply replace this spring, making sure to put it back in so that it looks like an “S” as before.
Then lock the cruciform back into place in the black trigger housing thingie.
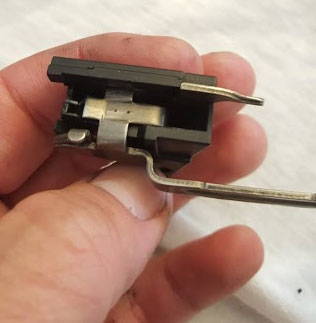
And then admire your work, where the trigger bar and cruciform are all locked in nice like.
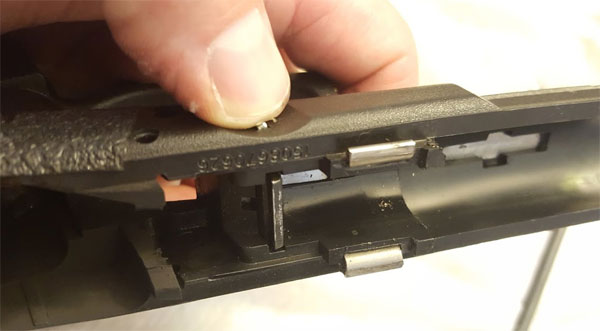
Step 4: Replace Extractor Depressor Plunger Spring
Next up you have the extractor depressor plunger spring to change. This is simple too. You just pull the spring off the metal part and the little black part and replace it.
As far as I know, there is no “right” way to replace/put that little spring on there. You just push down until it “clicks” into place as far as I can tell. Then you’re done.
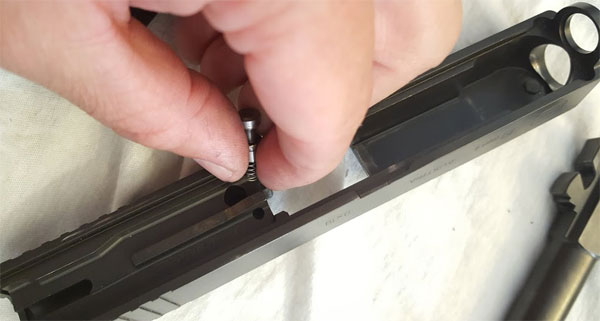
Step 5: Replace the Firing Pin Safety Spring
Next, you simply are going to replace the little spring inside the safety pin. This DOES click into place as well, so work the old one out and stick the new one in. Simple. Done.
Step 6: Admire your handiwork, then put the slide back together.

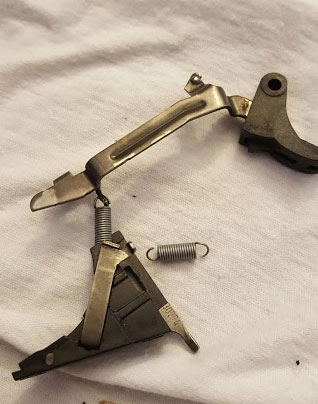
At this point all the slide parts are replaced, so it’s time to put the slide back together …
I put the safety pin in first …
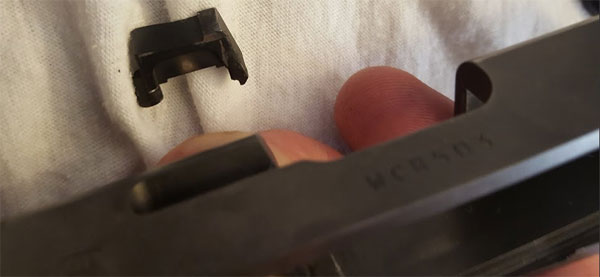
Then the extractor …
Then I stuck the firing striker back in …
Next, the Extractor Depressor Plunger …

Finally, I stuck the back plate on …
You’ll have to push down on the depressor plunger and striker to get the plate on until it CLICKS into place like so …
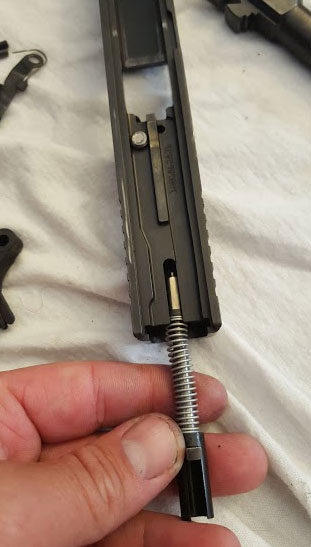
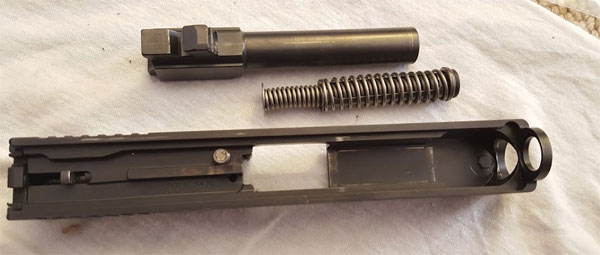
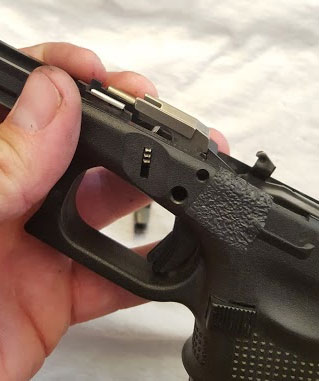
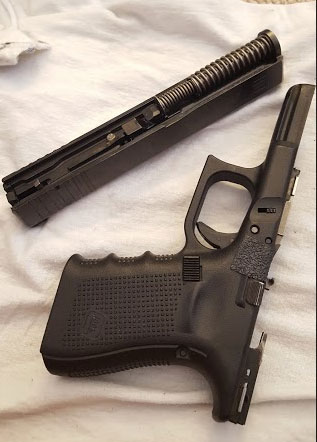
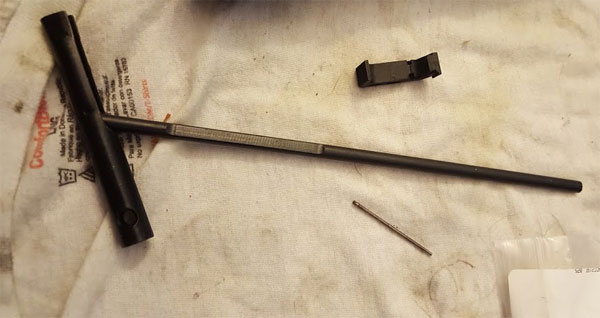
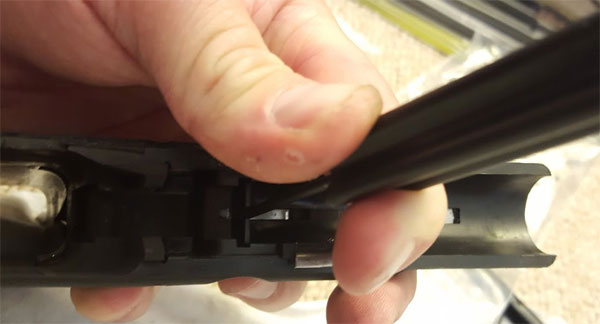
And now your slide is all put back together and you have the barrel and the recoil spring assembly and the slide — just like you had done a standard “field strip” of your Glock:
If you want a step-by-step video for how to assemble and disassemble your Glock slide, I found the following video on YouTube to be really good. There are a lot of close ups and it’s a high-quality video:
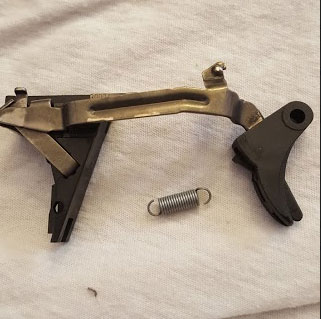
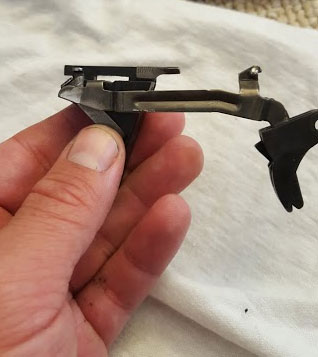
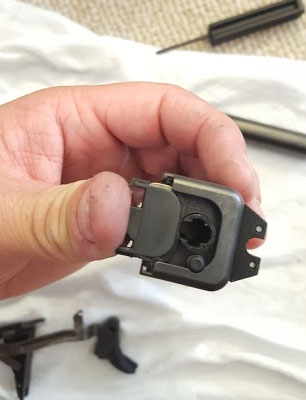
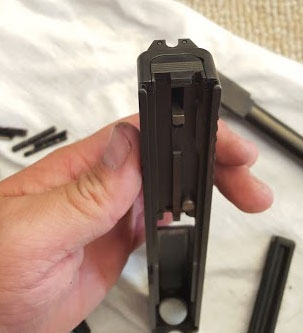
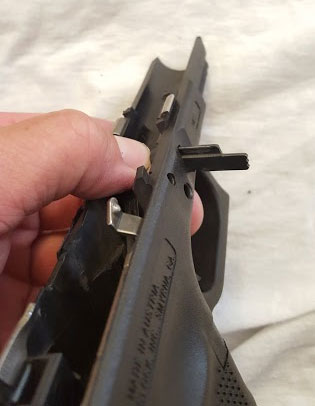
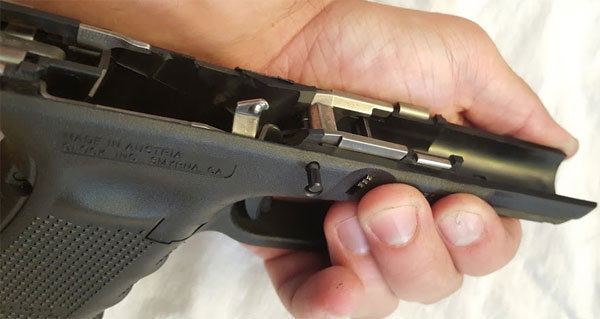
Step 7: Put the receiver back together …
The slide is back together so now it’s time to move onto the frame/receiver of the Glock.
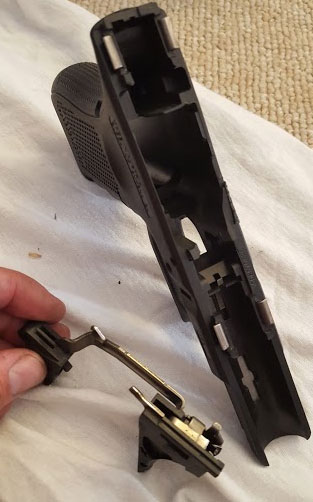
Now, I stuck the trigger assembly back in the naked Glock frame. And it simply locks into place pretty easily (just guide the trigger down through the trigger hole) and make sure the pin in the back of the back strap is see through/showing light.
Then it was time to stick the slide lock back in place …
At this point I went ahead and put the trigger mechanism housing pin back in to hold the trigger stuff in place …
Then I stuck the locking block back into place …
Next, and trust me, I’m no expert, so I might of did this in the wrong order, but I did the top pin from right to left …
Then I put the slide stop lever back. More details here …
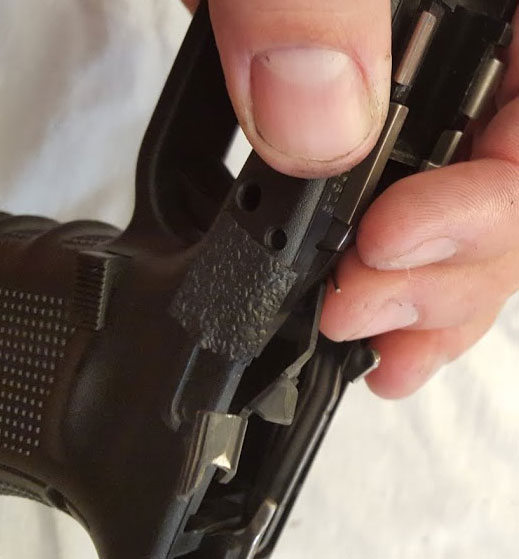
Then the bottom pin …
If you need more help, or want to see a video of the step-by-step process of assembling/disassembling the Glock receiver/frame then this is a really good video I found on YouTube. Very good close up and high quality video:
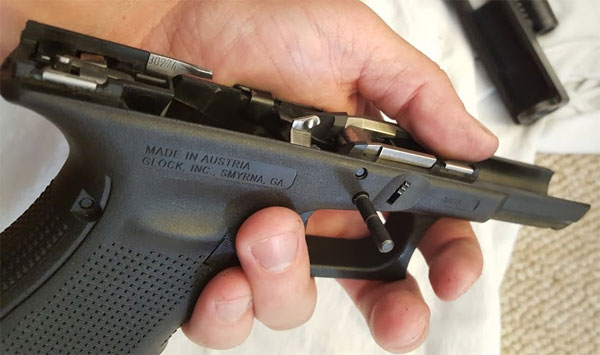
Step 8: Lube and Re-Assemble and enjoy your “like new” gun!
At this point you receiver and your slide are back together. So now you just lube them correctly and put them back together and you’re done.
In Conclusion …
A couple things to note …
This was pretty easy. So feel free to give it a go.
Again, this will be a document in process, that I’ll add to later. When I get a new slide lock spring I’ll replace that part along with the magazine release spring at the same time.
Take care of your guns, shoot them a lot and follow this preventative maintenace schedule with your Glock and you can’t go wrong.
* Please substitute your own gender if needed. Women that love guns are awesome as well of course, however, writing “Gun guys or gals” every time is tiring so I went the easy route.
Addendum (Update 1):
How To Replace Glock Slide Lock & Magazine Catch Spring
In the original version of this article there were two parts I didn’t replace because I was sent the wrong parts — the magazine catch spring and the slide lock spring
So here’s how to replace those …
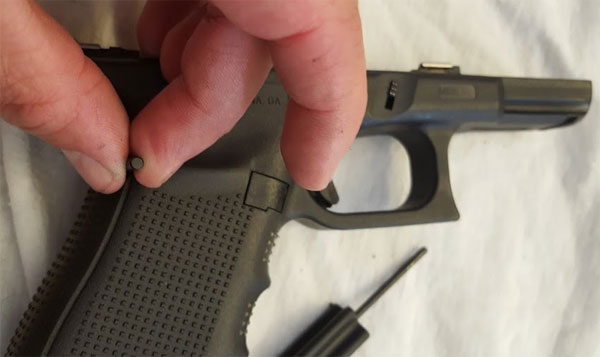
How To Replace The Magazine Catch Spring
First, you want to grab the new magazine catch spring. It doesn’t really look like a spring at all actually. It looks like a small, thin piece of metal. Kind of neat how simple it is.
At this point, you’ll want to grab a few more tools that can (possibly) make this job easier. This is practically the only time you need extra tools besides the “Glock Armorer Tool” punch when doing work on your Glock.
1. Needle nose plyers
2. Cleaning Rod handle thingie (these normally come with cleaning kits)
3. Flat Head Screw driver (not pictured because you should know what that looks like, lol)
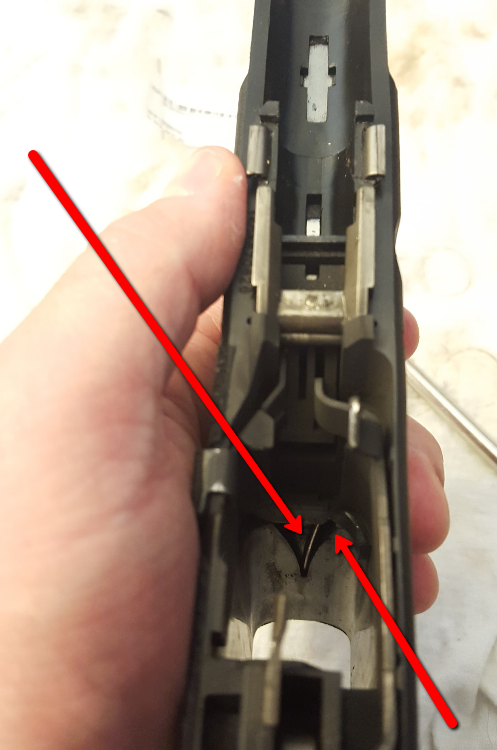
This is easiest to do with the Glock frame disassembled, but not so bad even with it just field stripped like here. But go ahead and look down the frame and you’ll see the magazine catch spring is just that thin little rod of steel down there in the frame–I drew a red arrow to help you out:
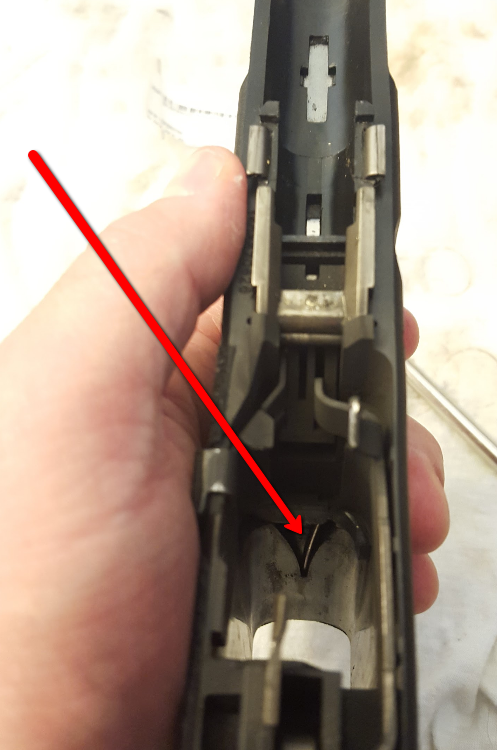
Then also notice that the thin rod of steel is being held by tension in place. And that there is a little “hole” or groove over to the side of it in the frame, that’s where you need to push the rod over too for it to slide out enough for you to remove it. I put a second arrow pointing it out on my frame.
Simply push it over with the flat head screw driver till it goes into that hole/groove and then it will pop out because the tension is released as shown here:
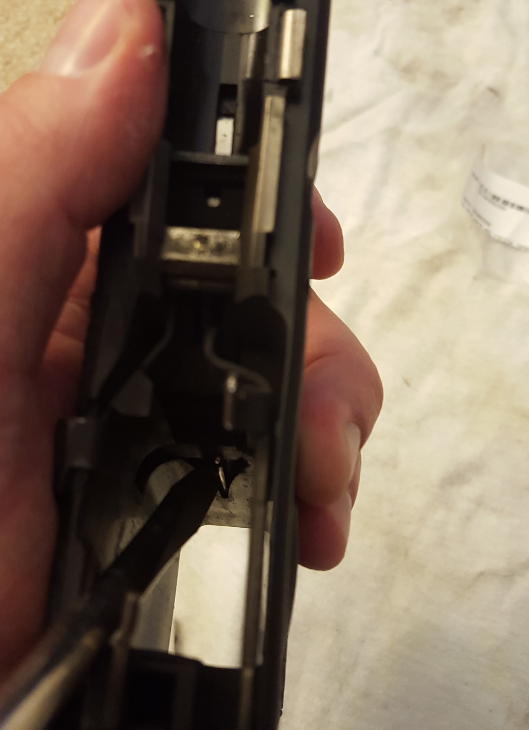
Then reach in with the needle nose plyers, grab the thin, steel rod and remove it. Just pull straight out in a straight line, it’s only shoved down in a hole in the frame.
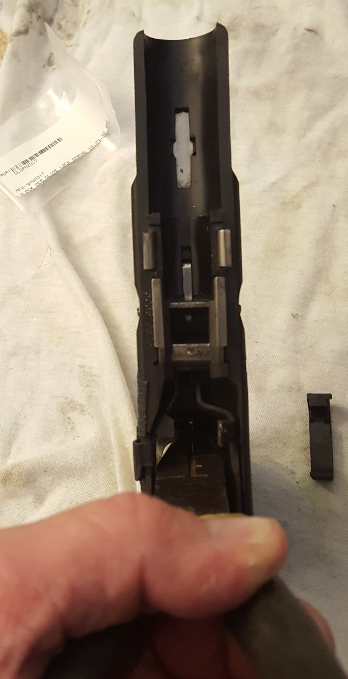
At this point, with it removed, the magazine button will actually fall out (or you will help it out to get the pin out) as shown in the pic below:
Then you take your new magazine catch spring and you reverse what you just did. Take the needle nose plyers and stick it back down in the frame hole. Then it will be sitting there like this, taunting you to bend it back into the rivet in the frame and put it back under tension.
This is the part where you grab the gun cleaner handle tool thingie, and put it to work because it is a hollow tube. Essentially, because it’s hollow, it makes it easier to slide it down over the magazine catch spring and get ahold of the little thin steel rod and push it back into the divet.
It was hard to take a picture of this action going on, but here is my best pic of it …
And here is the youtube video where I learned this little trick from
Once you do that, you slide the mag button back in to get it under tension and you’re all set.
How To Replace The Glock Slide Lock Spring
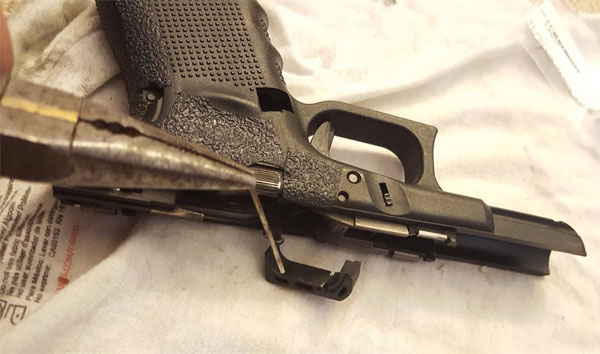
Next, we replace the Glock slide lock spring. To do that, you strip the frame and then you have to take off the little metal slide lock piece that you normally push down to remove the slide in a field strip:
All you do to remove that is push down on the actual spring (the shiny piece of sheet metal looking thing below it) and it just falls right out when you turn the frame on its side:
At this point, you simply take your armorer tool and pop that little sheet metal spring looking thing out (that’s the slide lock spring) and replace with the identical looking replacement slide lock spring. Just make sure to put it back in exactly the way you took it out, so that the big part faces the correct way. Then you can push on it a few times to make sure it’s springy the way it should be.

And that’s it!


 pt 3 of 3")

Where would I get a front site for my Glock 23.
Try out the Trijicon HD sights.
[…] consumable parts such as springs on a routine basis, anyway, particularly for high-usage guns: https://preparedgunowners.com/2015/09/01/the-ultimate-guide-to-glock-preventative-maintenance-and-sch… Whether or not to use the slide stop as a slide release is inconsequential with respect to the […]
Where could I get a new barrel for a Glock 21? barrel that came with it new seems to scatter all over the target even when in vise. Thank You.
It’s hard to tell in the pictures of the receiver assembled, but it looks like you installed the trigger spring wrong. I’m a certified Glock armorer and will be able to tell you for sure if I can see a close up photo. If you doubt me, I’d be more than happy to take a picture of the page in the armorer’s manual.
Feel free to post the picture if you like, or email to us. But I’m under the impression — from the Glock armorer class I took (but I’m not certified) — that as long as it looks like an “S” you’re installing it correctly.
[…] Tunderbird, it's none of your business regarding my age son. Secondly, the trigger bar replacement was a suggestion by a glock armorer among other things listed below. He said the trigger bar does not wear but where it mates with the connector can. Glock just changed their coating from Tennifer to Nitrade and from all accounts Nitrade is a better finish. The Ultimate Guide To Glock Preventative Maintenance and Scheduled Parts Replacements | Prepared Gun… […]
Comments are closed.